Adding hydraulic fluid to your tractor is a crucial maintenance task. This guide provides a step-by-step process for John Deere and Mahindra tractors, emphasizing safety and accuracy. Remember, using the incorrect fluid can cause significant damage, so always consult your owner's manual. For Mahindra tractor battery replacement information, see this helpful guide: Mahindra Tractor Batteries.
Safety First: Preparing for the Task
Before beginning any work on your tractor's hydraulic system, prioritize safety. These precautions are essential for preventing injury and damage:
- Engine Off & Cool: Ensure the tractor's engine is completely off and has cooled down. Hot hydraulic fluid can cause severe burns.
- Level Ground: Park the tractor on a level, stable surface to prevent tipping and ensure accurate fluid level readings.
- Protective Gear: Wear safety glasses or goggles to protect your eyes from fluid splashes. Wear heavy-duty gloves to protect your hands.
Gathering Your Supplies
Before starting, gather all necessary materials to streamline the process:
- Correct Hydraulic Fluid: This is paramount. Use only the type and grade of hydraulic fluid explicitly recommended in your tractor's owner's manual. Incorrect fluid can severely damage your hydraulic system.
- Clean Funnel: A clean funnel prevents contaminants from entering the reservoir.
- Clean Rags: Spills are common; have clean rags ready for immediate cleanup.
- Owner's Manual: Your owner's manual contains crucial information, including diagrams showing the reservoir location and fluid specifications.
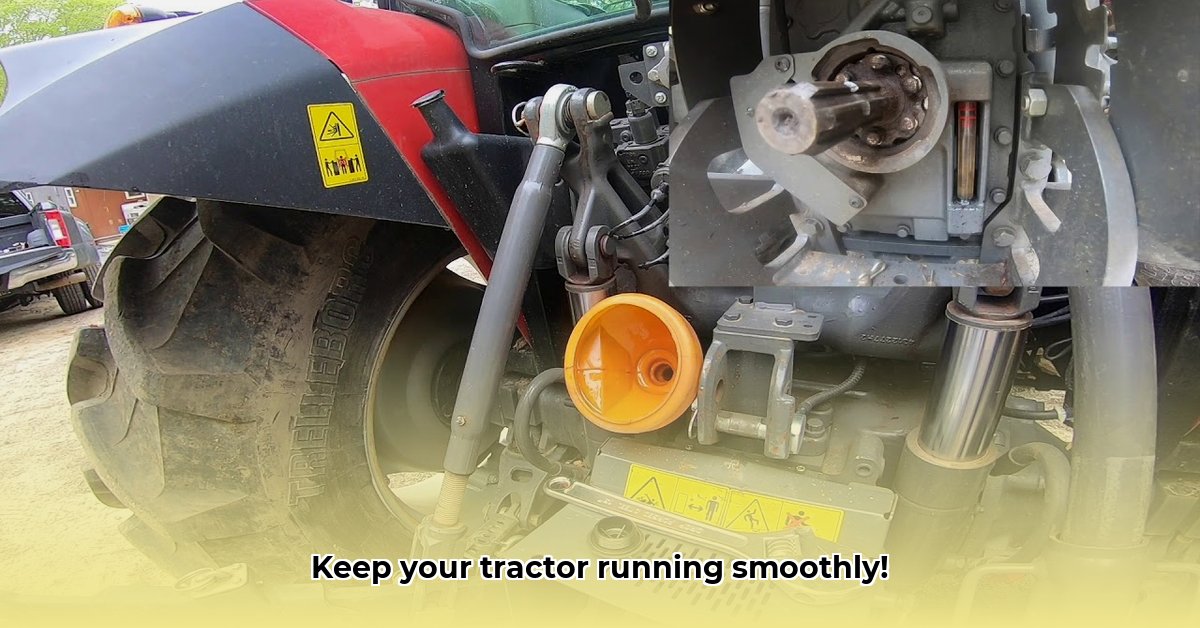
Locating the Hydraulic Fluid Reservoir
The reservoir’s location differs between tractor models. Your owner's manual will precisely show its location, often with a helpful diagram. Typically, it's a relatively large, cylindrical tank near the engine.
Checking the Hydraulic Fluid Level
Accurately checking the fluid level is crucial:
- Locate Dipstick: Find the dipstick; it's often marked near the reservoir cap.
- Clean Dipstick: Thoroughly wipe the dipstick with a clean rag to ensure an accurate reading.
- Insert Fully: Insert the dipstick completely into the tube.
- Remove & Check: Remove and check the level against the "MIN" and "MAX" markings. The fluid level should ideally be close to "MAX."
Adding Hydraulic Fluid
Adding fluid requires careful attention:
- Position Funnel: Carefully insert the clean funnel into the reservoir opening.
- Slowly Pour: Slowly add the recommended hydraulic fluid, monitoring the level frequently.
- Avoid Overfilling: Overfilling is as detrimental as underfilling. Aim for the "MAX" mark.
- Check Level: Regularly check the level using the dipstick to prevent overfilling.
- Replace Dipstick & Cap: Securely replace the dipstick and close the reservoir cap.
- Inspect for Leaks: After adding fluid, inspect for any leaks around the reservoir and connections.
Troubleshooting
Addressing potential issues promptly is key:
- Leaks: Any leaks require immediate attention. Contact a qualified mechanic; attempting DIY repairs on a hydraulic leak can be dangerous.
- Access Difficulty: If accessing the reservoir is difficult, consult your owner's manual or seek professional help.
- Wrong Fluid: Using incorrect fluid is a serious error, causing potentially irreparable damage. Always confirm fluid type with your owner's manual.
Maintaining Your Tractor's Hydraulic System
Regular maintenance dramatically extends your tractor's lifespan:
- Regular Checks: Regularly check the fluid level and inspect for leaks.
- Fluid Changes: Adhere to the fluid change intervals in your owner's manual. Proactive maintenance is cost-effective in the long run.
Remember: Prioritizing safety and using the correct fluid are paramount in maintaining your tractor's hydraulic system. Regular checks and preventive maintenance will keep your tractor operating efficiently for years to come.